Did you get a telescope as a gift and feel overwhelmed by its parts and settings? You’re not alone. Thousands of aspiring astronomers face this challenge each year.
A new Gskyer telescope might seem like a complex puzzle at first. Many owners struggle with simple operations right after unboxing their telescopes.
This detailed guide will help you direct your stargazing experience. You will learn everything about using your Gskyer telescope – from simple setup to advanced features.
Your backyard can become an amateur observatory. Let’s explore the stars together!
Getting Started with Your Gskyer Telescope
Let’s start our trip with your new Gskyer telescope by looking at what’s in the box. You’ll learn about each part and setup step to get ready for your stargazing adventures.
Unboxing and Parts Identification
As you open your Gskyer telescope package, you’ll see several core parts. The main components are:
- Optical tube assembly with coated glass lens
- Adjustable aluminum alloy tripod with accessory tray
- Multiple eyepieces (typically 25mm and 10mm)
- 3x Barlow lens
- Smartphone adapter with wireless remote
- Finderscope with mounting bracket
Initial Assembly Steps
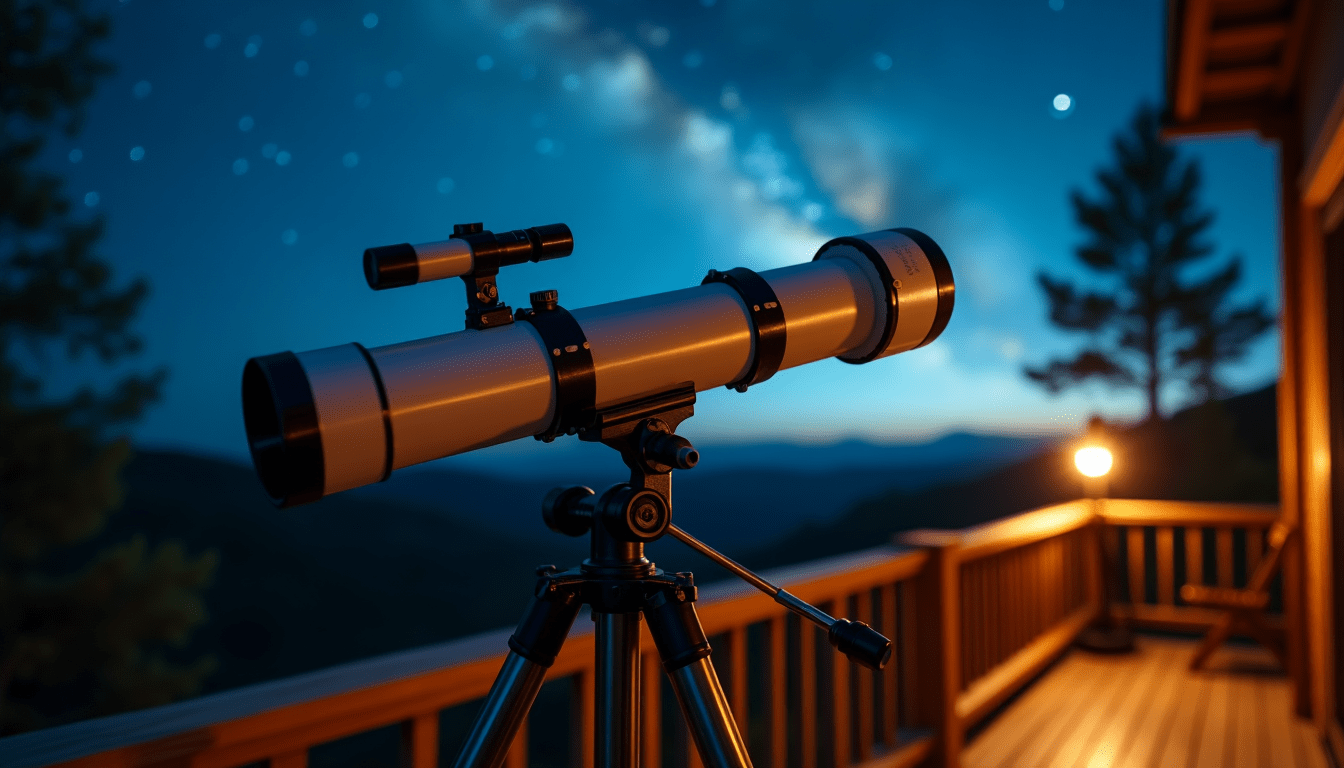
Your Gskyer telescope setup is straightforward because most hard equipment comes pre-assembled. Start by extending the tripod legs and securing them at a comfortable height. The accessory tray attaches next to add more stability. The optical tube assembly mounts firmly to the tripod head, and the finderscope connects to the main tube using the provided mounting bracket.
Understanding Your Telescope’s Specifications
Each Gskyer model has different capabilities. The 70mm aperture model features a 400mm focal length (f/5.7) with fully coated optics to boost image clarity. The 130EQ Professional model has a larger 130mm (5.1 inches) aperture that works great for viewing celestial objects like the Moon, planets, and maybe even distant galaxies.
The finderscope’s cross-hair markings help you spot objects easily. Each model comes with multiple eyepieces for different magnification levels, so you can adapt to various viewing scenarios. The fully-coated glass optics improve image brightness while protecting your eyes during observation.
Setting Up for First Use
Let’s get your telescope ready for its first journey into the cosmos now that you know all about its parts.
Choosing the Perfect Observation Location
You need a spot away from bright lights and tall buildings to get the best views. Look for a clear, open area with a stable surface that will give you optimal viewing conditions. Light pollution, even in small amounts, can substantially affect what you’ll be able to see.
Tripod and Mount Alignment
The adjustable aluminum tripod lets you set heights between 31.5 to 49 inches so you can view comfortably. Here’s how to set it up:
- Extend the tripod legs to your desired height
- Place the accessory tray on the center pin and twist until it locks
- Make sure all components are tight
- Line up the mount’s slow-motion controls with your telescope’s pointing direction
Pro Tip: The telescope’s stability improves when you place heavy objects on the accessory tray to lower its center of gravity.
Balancing Your Telescope
Your telescope needs proper balancing for smooth operation and precise tracking. Start by loosening the mount’s clutch knobs and adjust the telescope tube’s position until it stays steady when you let go. This helps prevent mount strain and ensures accurate movements.
Important: Double-check that all components are tight before you start observing. A wobbly telescope with loose parts can get damaged as you move it around. The slow-motion controls will help you track objects across the sky smoothly once everything is balanced properly.
The setup might take some time, but this effort will give you better views and protect your equipment effectively.
Basic Operation Techniques
Let’s become skilled at the simple techniques that help you maximize your Gskyer telescope’s potential. You’ll be ready to explore the night sky’s wonders once you know how to operate it properly.
Focusing Methods and Tips
The best way to practice is to focus on distant objects during daylight hours. Here’s a proven approach:
- Point your telescope at an object at least 100 meters away
- Insert your lowest magnification eyepiece
- Look through the viewfinder
- Turn the focus knob until the image appears crisp
- Maintain the telescope’s position while adjusting
Pro Tip: Make sure your eyepieces are secure and clear of fog or scratches before you start focusing.
Using Different Eyepieces
You get a normal two eyepieces with your Gskyer telescope, one being 25mm and the other is 10mm in width. The 25mm gives you wide view views and allows you easily to find objects. A higher magnification will allow for more detailed views using the 10mm eyepiece.
The conversion is simply a matter of unscrewing the old eyepiece and screwing the new one in. At low power, this 25mm lens shows very little vibration. In this eyepiece, the moon’s diameter would take up about one-third of your view.
Navigation and Tracking Objects
Your Gskyer doesn’t have automatic tracking motors, but you can use the slow-motion controls to track celestial objects manually. These controls help you keep objects centered in your eyepiece with precise adjustments.
The quickest way to track effectively is to make small, thought-out movements with the slow-motion controls. This approach keeps your target in view as Earth rotates. Your views will improve significantly as you practice tracking different objects.
Advanced Usage and Features
Ready to elevate your stargazing experience? These advanced features will help you capture and share the night sky’s wonders.
Using the Finderscope Effectively
The 5×24 finderscope serves as your telescope’s navigation tool, but needs proper fine-tuning to work best. Here’s our tested process to arrange it:
- Insert the 10mm eyepiece and point at a distant object
- Center and focus your target in the main telescope
- Adjust the finderscope’s three screws without moving the telescope
- Arrange the crosshairs with your target
- Check both views match to verify alignment
Pro Tip: Your finderscope works best if you fine-tune it during daylight using distant landmarks.
Smartphone Adapter Setup
The included smartphone adapter excites us – a feature you rarely see in entry-level telescopes. The adapter works best if you:
- Mount your phone securely in the adapter
- Prevent camera shake with the wireless remote
- Arrange your phone’s camera with the eyepiece
- Begin with the 25mm eyepiece to get wider views
Astrophotography Basics
Your Gskyer telescope supports simple astrophotography, though it has limitations. The telescope excels at:
- Quick Moon snapshots
- Simple planetary photography
- Short exposure shots
The telescope lacks a motor drive, so it’s not suitable for long-exposure astrophotography (over 30 seconds). Lunar photography makes an ideal starting point since the Moon’s brightness makes it perfect to capture celestial images.
Important Note: The wireless remote helps reduce image blur because you won’t need to touch your phone during capture.
Conclusion
A Gskyer telescope brings astronomical wonders right to your backyard. You’ll find everything you need here – from simple assembly and proper setup to advanced features like smartphone photography. This knowledge will lead to successful stargazing sessions.
Understanding the fundamentals launches your cosmic experience. You need the right location, proper mounting, and operational mastery. Note that focusing, tracking objects, and using different eyepieces effectively come with practice.
Your astronomical experience becomes magical once you move beyond simple viewing to capture celestial sights. The Gskyer telescope has some limitations for advanced astrophotography, yet it serves perfectly for beginning astronomers to explore the moon, planets, and bright celestial objects. These techniques will help you navigate the night sky like a seasoned astronomer with consistent practice.


One thought on “How to Use Gskyer Telescope: A Beginner’s Guide”
Comments are closed.